Selecting A Fruit
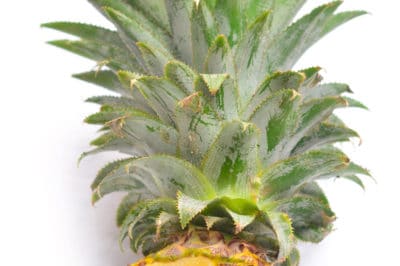
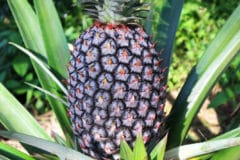
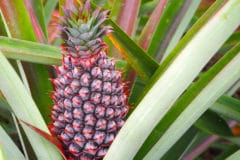
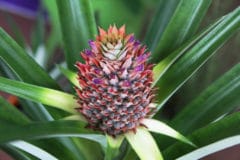
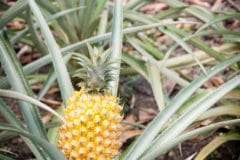
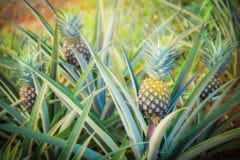
When you’re buying pineapples for the fruit, the green palm-looking top is not of concern. When purchasing for new plants, pay close attention to this feature. Select fruits with tops that are tall, wide, and green. The pineapple top is your new plant.
Avoid fruits with tops that have browned leaf edges. Reject fruits that appear wilted or smell off. Fruit size does not mean much. Pineapple fruit size can vary due to the season, growing conditions, and weather.
When you get the fruit home, do not put it in the fridge. Leave it on the counter until you are ready to eat the fruit.
Separating The Top
Only separate the top from the fruit when you’re ready to eat the fruit. Once the top is off, the fruit will decay quickly and should be refrigerated for storage.
Grasp the base of the top where it connects to the fruit. Be careful not to stab yourself the leaves are very sharp at certain angles. Detach the top with a twist of the wrist. It should come off with a fair amount of ease.
Remove Leaves
The leaves come off the fruit in layers. If you look at the bottom where the new plant came off of the fruit, you’ll see rings of leaves. Remove several layers of leaves from the bottom. They come off with the slightest pressure.
You are left with a base surrounded by white nubbins. The nubbins were beneath the leaves, and are where new roots will grow. Removal of the leaves sends a message to the plant to direct growth to this region.
Hardening Off
At this point, gardeners do all kinds of different things to grow their new plant. For the most part, all techniques out there will work fine. Pineapples are very hardy plants that don’t require much babying. Beginner gardeners will find them excellent plants to start with for this reason.
To harden off your new start, leave it in the open air for one or two days. Three or four days likely won’t hurt it, so if you end up leaving it that long don’t give up on it.
The Water Method
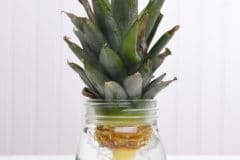
To use this method of rooting a new pineapple start, you’ll need some toothpicks and a bowl of water. Remember that sweet potato experiment you did in elementary school? It’s the same thing but with pineapples.
Stick the toothpick into the start enough so that they can rest on the rim of the bowl and hold the plant in place. Only the base part where you removed the leaves should be in water, and it should not touch the bottom of the bowl.
Change out the water every few days to avoid stagnancy. Roots should begin to grow within a week. Advantages to this method include:
- Visual affirmation of growth
- Potentially faster germination
- Great experiment to do with kids to learn about plant growth
The Soil Method
The soil method is less of a method and more of a final step. Many gardeners skip the water rooting and move straight to soil after hardening off.
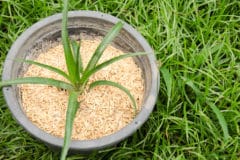
Fill a container with a high-quality potting soil. Make sure the soil is well-draining. Not using high-quality soil is a common mistake among beginning gardeners.
Gently set the plant into a slight depression in the soil and wiggle it until it will stand up. Pineapples do not need to be packed into the soil, they will root while just sitting on top of it.
Tips and Tricks
Do not expose your pineapple plant to prolonged temperatures below 65°F (18°C). Feel free to set them outside during warm weather but must be protected from all danger of frost.
Check to see if your plant needs water by looking into the crown. Small pockets form where the leaves meet in the middle. If these pockets are full of water then the plant is not thirsty. If they are dry, water from overhead to fill them.
Feed the plant after a few months of letting is establish roots. Dilute any liquid fertilizer to half strength and pour it over the foliage. Pineapples get the majority of their nutrients through the leaves.
