Perks of Trellising
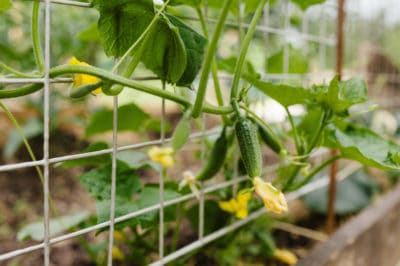
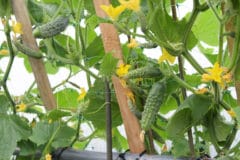
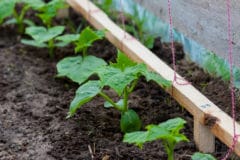
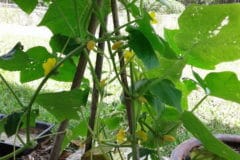
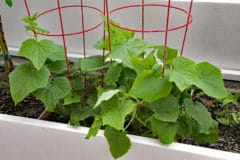
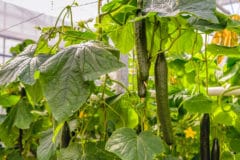
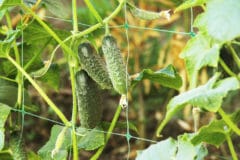
The time you spend trellising your cukes is more than rewarded with the time you’ll save while caring for them. Trellised cukes:
- Have increased photosynthesis to fuel growth and fruit production.
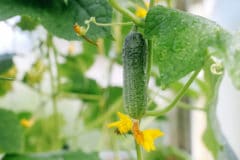
- Produce straighter, greener fruit because the sun reaches more of it.
- Aren’t prone to soil-borne fungal diseases.
- Let you use of a soaker hose or drip system for slow, deep watering.
- Dry more quickly following rain, so they’re likely to developing mildew{/link].
- Eliminate stooping and hunting when harvesting, so fewer cukes become yellow and bitter on the vine.
Making a Trellis
Installing your trellises before planting, or they could damage your seedlings’ root systems. This sturdy, inexpensive trellis requires basic carpentry skills and:
- Two 4-foot lengths of 3/8-inch rebar
- Two 10-foot lengths of 1/2-inchelectrical conduit tubing
- A hammer
- A conduit bender
- A measuring tape
- A marking pen
- One conduit coupling
- One roll of 5-foot trellis netting with 6-inch squares
- Scissors
Trellis Construction
- Hammer a length of rebar 24 inches deep into each end of your cuke patch.
- Measure and mark the 6-foot points on the conduit tubing.
- Bend a 90-degree angle at the 6-foot mark on each tubing.
- Slide the tubing into the rebar with their bent ends facing.
- Join the tubing with the connector.
- Slide the tubing out of the rebar and lay it on the soil.
- Unroll trellis netting over the tubing, with the factory edge running up one end and along the top. Allow a 2-inch overlap at the far end.
- Begin tying off the factory edge at the corner, alternating knots in a down-across-down pattern and stretching the squares as you go.
- Cut the far-end overlap in the middle of the squares for more tying-off strings.
- Slide the completed trellis into the rebar supports.
Teaching Your Cukes to Climb
When your cukes are tall enough, simply wind their tendrils through the lowest squares of netting. Then let Nature take its course!
